How to Iron On Patches
Iron-on patches are great for someone who wants a great looking patch, but does not want to have to sew the patch onto an article of clothing. Today we're going...
Iron-on patches are great for someone who wants a great looking patch, but does not want to have to sew the patch onto an article of clothing. Today we're going to cover how to iron on patches in a step by step process.
• The first step you always want to follow is examine the fabric that you're going to apply the patch to. Certain fabrics like polyester or silk are not good choices for patches as the heat of the iron can burn or discolor the fabric.
• If you're only placing one patch onto the item, make sure it's in an ideal area that catches the eye. If you intend to have multiple patches on the item, plan the layout as you don't want to run out of room, and you want to make sure to maximize space.
• Lay the item on a smooth, flat surface that is heat-resistant. If possible, iron the item first to remove and wrinkles and to be sure the area is a good location for the patch.
• Place the patch in the desired position on the item. Make sure the patch is 100% in the correct spot, as once you apply heat and the glue melts there's no turning back!
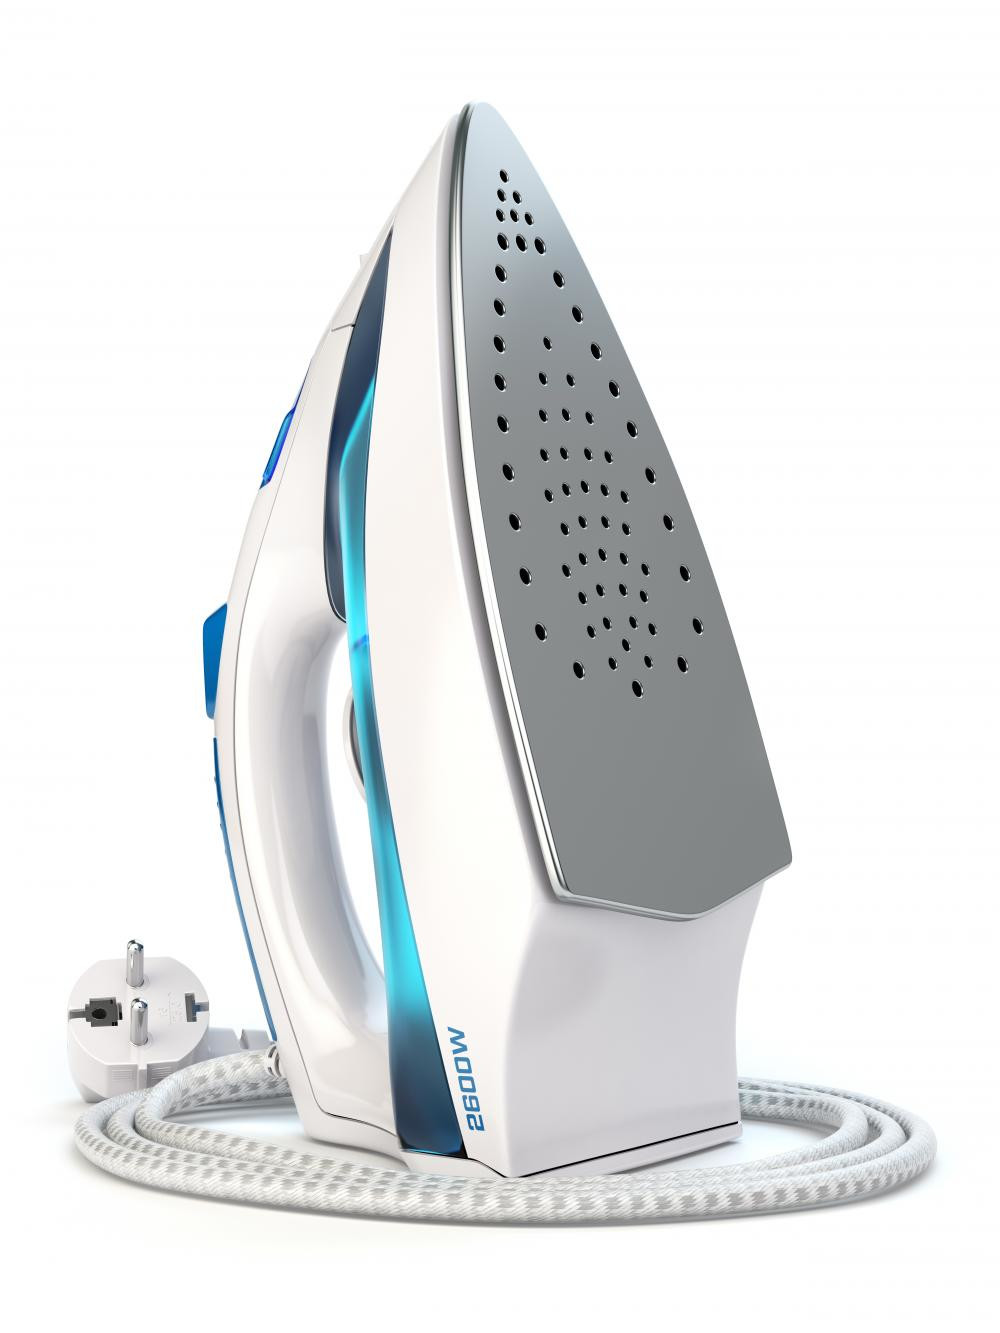
• Turn the iron to the hottest setting the fabric of your base item can tolerate. Double check that the steam option is not on, and also remove any water from the iron.
• Before ironing, put a thin towel or washcloth over the patch while making sure not to move the patch. You don't want to apply the iron directly to the patch as this may damage the embroidery.
• Once everything is ready, place the iron over the patch and firmly press down. Hold the iron on top of the patch for about 15-20 seconds and apply as much pressure as possible.
• Carefully remove the towel and gently lift the edges of the patch. If it lifts at all, replace the towel and iron the patch for another 10 seconds.
• After fully securing the patch, let it cool for around 5 minutes or so and that's it! The patch is done and ready for wearing!
It can be a good idea to sew the edges of the patch down to make the patch extra secure, but this should only be done if you feel comfortable sewing. This is completely optional and is not necessary, the glue provides plenty of adhesion. Take care when washing the garment as well. Iron-on patches are permanent, but excessive washing in a washing machine can loosen the patch. If possible, hand wash the item with the patch, taking care not to rub or pull at the edges.
This covers the basics of how to iron on patches. At WholesalePatches.com we offer a wide variety of custom patches in all shapes and sizes with multiple backing options so you can start designing your own custom patch now! Also, our talented team of graphic artists have years of experience designing anything and everything that a customer can dream up. We refuse to be second best, and it shows in the quality of our product and customer service. If a patch design isn't exactly what you wanted the first time, revisions are always free. We want to make sure you are completely satisfied as a customer! Call 1-866-720-7467 or fill out our free quote form today!